Clip Editor
Clip Editor for Trimming, Captions, and Spotlight Publishing
While EzClap handles most of the repetitive work automatically, the Clip Editor is where you make the final decisions before a clip gets published.
This is your main editing screen inside EzClap.
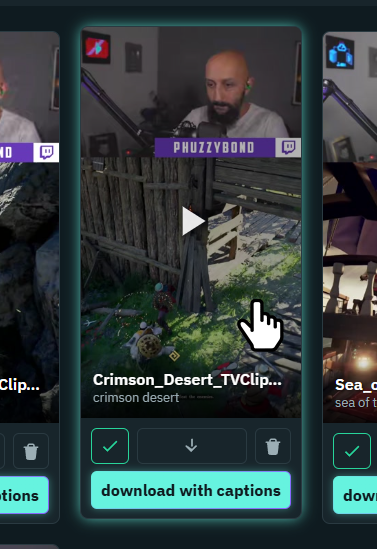
You open the editor by simply clicking on a processed clip.
It is built for speed, not for dragging you into a complicated timeline or forcing you through bloated editing software. The goal is simple: make quick adjustments, approve the clip, and move it forward.
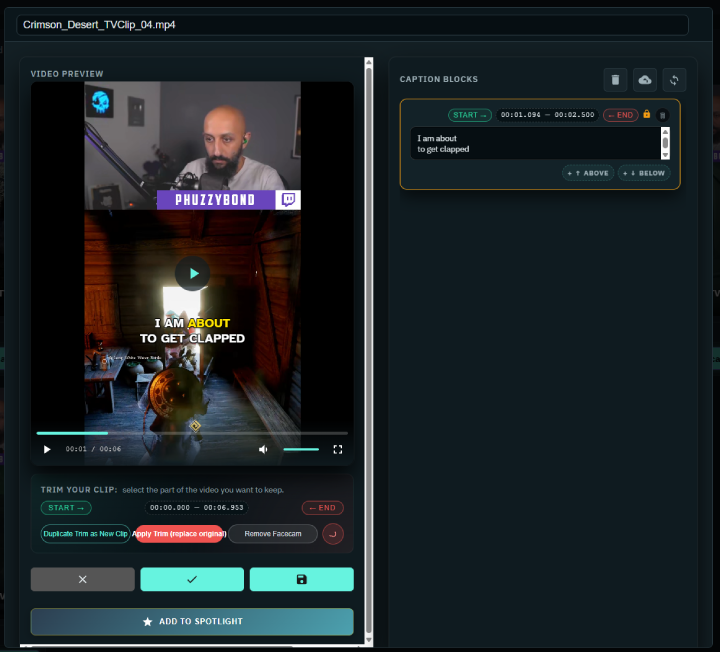
What you can do in the Clip Editor
Adjust captions
EzClap's auto-transcription is strong, but captions still need a quick human check sometimes. Gaming slang, usernames, accents, and loud microphones can all create weird subtitle mistakes.
Inside the editor, each caption is a block with its own timing and text. You can fix typos directly, retime a block by snapping its start or end to the current video frame, mark a second speaker, hide a block without deleting it, insert new blocks, or even attach a sound effect to a specific word. The full details live in auto captions.
Trim the clip
Sometimes a clip starts too early or hangs too long after the good moment is over. Drag the trim controls to cut the start and end of the video so the pacing feels tighter.
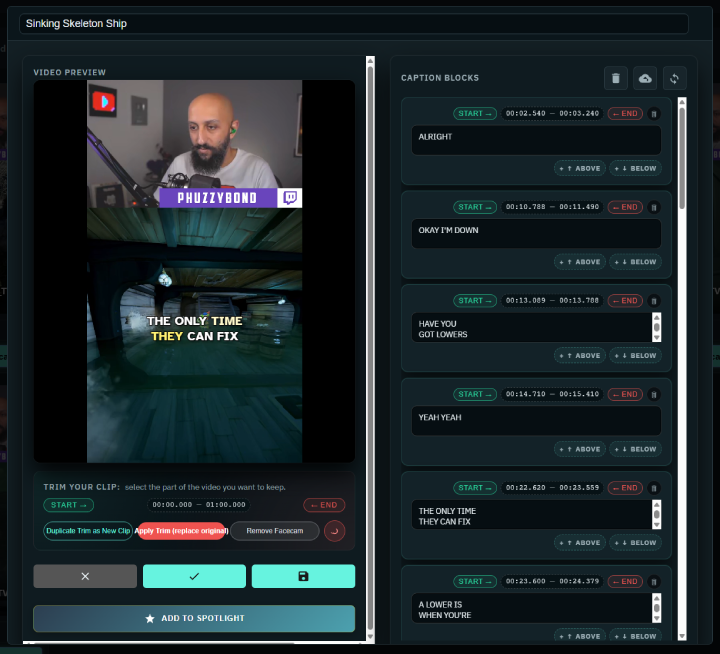
You can also choose whether to:
- apply the trim — replace the current clip
- duplicate the trim — keep the original and create the trimmed version as a new clip
This gives you flexibility without slowing down your workflow.
Toggle the facecam on or off
Not every clip needs a facecam. Sometimes your camera blocks gameplay, UI, or the most important action. For those cases, the editor lets you remove the facecam for that specific clip — so you can keep facecam enabled in your normal template while still dropping it when a particular clip works better without it.
Set the clip title
Give the clip a custom title before it gets published. This title becomes the video title on TikTok and YouTube Shorts, so it is worth making it clear and clickable. It also keeps your content library organized inside EzClap.
Download captions
If you need the raw subtitle file for another workflow, you can download the captions directly from the editor as a .vtt file — useful for outside editing, archiving subtitles, or reuse in another project.
Reset the video
If you make edits you do not like, you can reset the clip — EzClap fully regenerates it from Twitch using the original template settings. This is useful if you trimmed too aggressively or just want to start fresh.
Share a clip publicly
Want to show a clip to a friend, your mods, or your community before (or instead of) publishing it? Every clip card has a share button that creates a public link at ezclap.me/c/... — anyone with the link can watch, no account needed.
Sharing is opt-in per clip: nothing is public unless you enable it, and you can revoke the link at any time from the same button.
Add the clip to Spotlight
This is the most important action in the Clip Editor.
Once the clip looks right, click add to spotlight to send it into the publishing queue. Spotlight is what tells EzClap that this clip is approved and ready to move toward your connected social platforms.
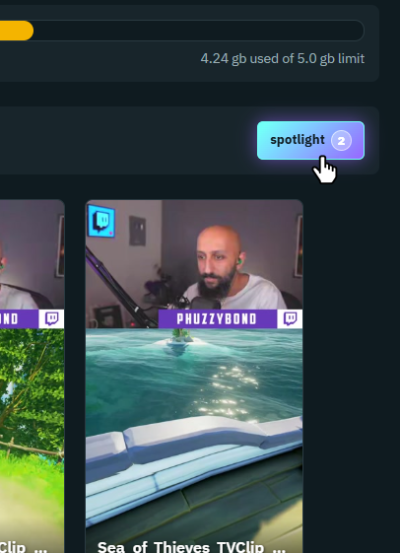
You can always see how many clips you have ready for publishing in the top right corner of your clips page.
Spotlight review
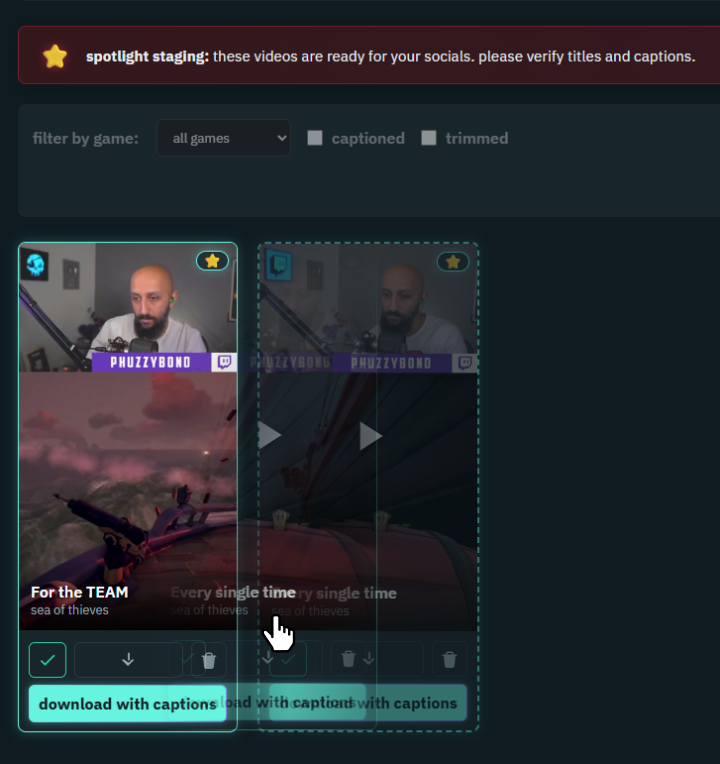
Think of Spotlight as the conveyor belt that pushes your content to socials. You can drag spotlighted clips around — clips release from left to right in that order. See the Spotlight queue page for slot tags, publish dates, and the fullscreen review mode.
A fast workflow beats a perfect workflow
The goal inside the Clip Editor is not to obsess over every frame. The goal is to make the clip good, clear, and ready to publish.
A solid workflow usually looks like this:
- check the captions
- fix obvious mistakes
- trim dead space at the start or end
- toggle facecam if needed
- set the title
- send it to Spotlight
That is how EzClap helps you keep momentum without getting stuck polishing one clip forever.
Pro tip
Do not overthink every edit. Fix the obvious caption mistakes, trim the boring parts, add the clip to Spotlight, and keep moving. EzClap works best when you stay focused on consistency and output, not endless tweaking.
Next step
Once a clip is approved and added to Spotlight, the next step is understanding how EzClap handles scheduling and publishing automatically — see StreamSync auto-publish and DailyDrop.